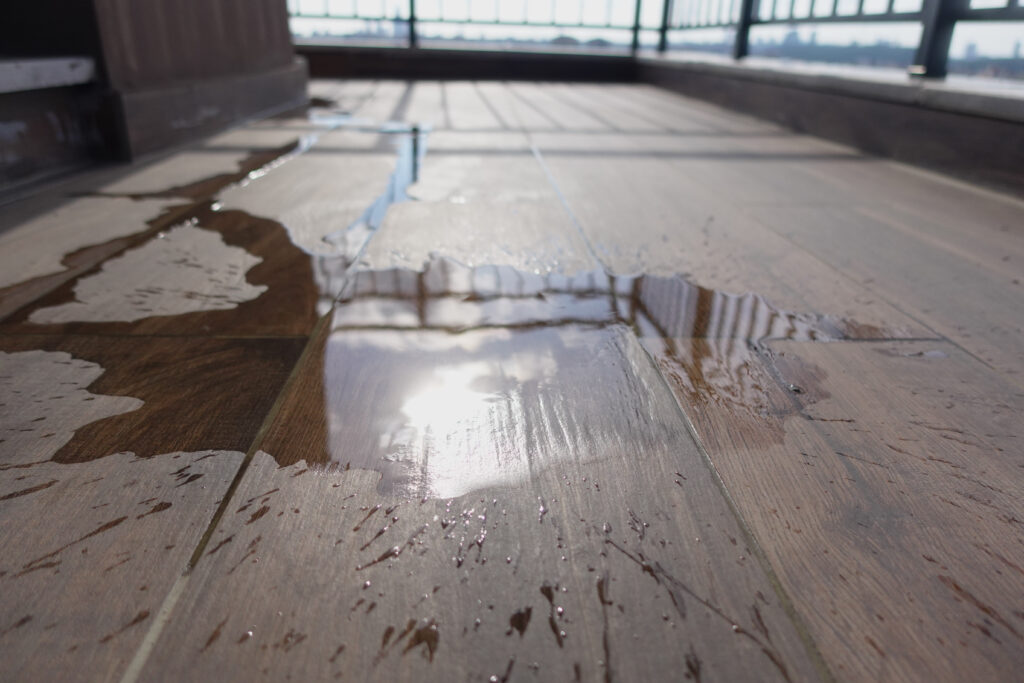
Discovering water damage on your beautiful hardwood floors can be a homeowner’s worst nightmare. Whether it’s from a leaky pipe, a sudden spill, or high humidity, the sight of warped boards and dark stains can be disheartening. The good news is that not all water damage is a lost cause. With the right approach and a bit of patience, many floors can be saved or repaired.
This guide will walk you through the process of assessing, drying, and repairing your water-damaged hardwood, and provide tips to prevent it from happening again.

Identify Type & Extent of Damage
Before you can fix the problem, you have to understand it. The type of water damage your floor has sustained will determine the best course of action.
Cupping vs. Crowning vs. Buckling
These are the three most common forms of hardwood floor water damage, each with a distinct appearance:
- Cupping: This happens when the sides of a board are higher than its center, creating a U-shape. It’s caused when moisture is absorbed from the subfloor, but the top surface remains dry.
- Crowning: The opposite of cupping, crowning occurs when the center of the board is higher than its edges. This can happen after a floor has been wet from above (like a large spill) and the top dries out faster than the bottom, or if a cupped floor is sanded before it’s fully dry.
- Buckling: This is the most severe form of damage, where boards completely lift from the subfloor. It’s caused by extensive moisture, like a major flood, and often requires full replacement.
Moisture Readings and Subfloor Checks
Visual cues are helpful, but a professional assessment with a moisture meter is crucial. A flooring professional can measure the moisture content of the wood and the subfloor. For the repair to be successful, both the wood and the subfloor must be dry. If the subfloor, especially a concrete slab, is still holding moisture, the problem will return.
Drying & Stabilization
Speed is essential in preventing further damage. The faster you can dry the area, the better your chances of a successful repair.
Dehumidifiers, Airflow, and Temperature
The first step is to stop the source of the water. Then, you need to create an environment that encourages moisture to evaporate. Use industrial-strength fans and dehumidifiers to circulate air and pull moisture from the room. Keep the room’s temperature elevated to help the process along. This can take several weeks, and you should not rush it. The floor needs time to slowly acclimate back to a stable moisture content.
When to Lift Boards to Dry the Subfloor
If the moisture meter reveals the subfloor is still damp after several weeks of drying, you may need to lift some boards to allow for direct air circulation. A professional can carefully remove specific boards to place fans and dehumidifiers directly on the subfloor. This is a critical step for preventing mold growth and ensuring the new or repaired floor doesn’t fail later on.
Repair Paths
Once your floors have fully stabilized and are at a safe moisture level, you can begin the repair process.
Sand & Refinish After Stabilization
For floors with minor cupping or crowning, professional sanding may be all that’s needed. Once the boards have returned to their flat position, a pro can sand the surface to make it level and then apply a new finish. This is the least invasive repair and can make the floor look new again.
Board Replacement and Feathering
If a few boards are too damaged to be saved—due to deep warping or permanent staining—they can be replaced. A professional will carefully cut out the old boards and install new, matching ones. The new boards will then need to be sanded down and “feathered” into the rest of the floor before a full refinish. This process requires a high level of skill to ensure a seamless look.
Full Section Replacement When Necessary
In cases of severe buckling or extensive water damage, a full floor refinish or spot replacement may not be enough. If the damage covers a large area, it’s often more cost-effective and aesthetically pleasing to replace the entire section of flooring. This is a major project, but it guarantees a fresh start and a perfect result.
Preventing Future Damage
A repaired floor is a great chance to protect your investment for the future.
Leak Detection and Humidity Control
Take proactive steps to prevent future damage. Regularly check your plumbing, especially around dishwashers, refrigerators, and toilets. Invest in a hygrometer to monitor your home’s humidity levels. Keep them between 35% and 55% to prevent the wood from expanding and contracting.
Finish Selection and Maintenance Schedule
The type of finish on your floors can offer a layer of protection against spills. Water-based polyurethane and moisture-cured urethane provide excellent resistance to water. Regardless of the finish, a regular cleaning schedule and prompt attention to spills are the best ways to protect your floors.
FAQs
How long before I can sand after a leak?
You must wait for the floor to fully stabilize before sanding. This can take anywhere from several weeks to several months. Sanding a floor that is still too moist will cause irreversible damage, such as crowning. A professional will use a moisture meter to determine when the floor is ready.
Can engineered floors be refinished?
Yes, in most cases. The ability to refinish engineered hardwood depends on the thickness of its top layer, or veneer. Most engineered floors can be sanded and refinished at least once or twice. You should check the manufacturer’s specifications to be sure.
Ready to restore your water-damaged floors to their former glory? Contact the experts at Sky Hardwood Floors today for a free on-site moisture assessment and a detailed repair plan.
