A beautiful hardwood floor is a significant investment in your home. It adds warmth, character, and value, but without the right protection, it’s vulnerable to the wear and tear of daily life. That’s where sealing comes in. A proper seal is the final, crucial step in protecting your wood floors, acting as an invisible shield against spills, scratches, and everyday messes.
Sealing your floors is a project that’s well within the reach of a dedicated DIYer, but it requires careful preparation and an understanding of the materials. This guide will walk you through the process, helping you choose the right sealer and apply it for a long-lasting, durable finish.
Why Sealing Hardwood Floors Matters
Sealing isn’t just a final step; it’s a vital part of your floor’s long-term health. A new finish not only makes your floors look great but also provides essential protection.
Protection against spills and stains
Hardwood is a porous material. Without a protective topcoat, a spilled glass of wine or a pet accident can quickly soak into the wood fibers, leading to stubborn stains and discoloration. A high-quality sealer creates a non-porous barrier on the surface, causing liquids to bead up so you have time to clean them before they cause permanent damage.
Extending floor lifespan
Foot traffic, furniture movement, and even sunlight can take a toll on an unprotected floor. The sealer acts as a sacrificial layer, absorbing the impact and abrasion that would otherwise wear down the actual wood. By regularly maintaining and reapplying your floor’s seal, you can significantly extend the life of your hardwood and postpone the need for a full sanding and refinishing job.
Types of Sealers for Hardwood
Choosing the right sealer depends on the look you want to achieve and the level of durability you need.
Polyurethane (Oil vs. Water-Based)
This is the most common and durable type of finish for hardwood floors.
- Oil-Based Polyurethane: Known for its amber-like hue that deepens over time, this sealer gives floors a warm, rich glow. It’s extremely durable and resistant to scratches and moisture. The main downsides are a strong odor and a longer drying time (often 24 hours per coat).
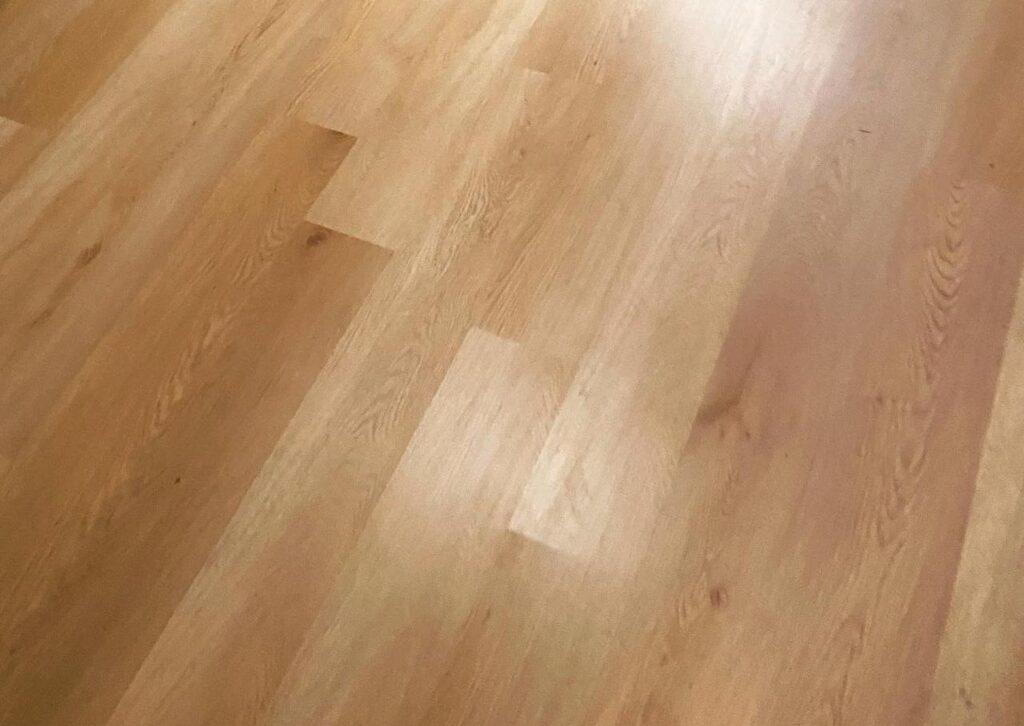
- Water-Based Polyurethane: This option dries crystal clear and stays that way, which is perfect for preserving the natural, light color of wood species like maple or white oak. It dries much faster than its oil-based counterpart, allowing you to apply multiple coats in a single day. While very durable, some may argue that it’s slightly less tough than oil-based polyurethane.
Natural Penetrating Oils
Natural oil finishes are designed to soak into the wood rather than sit on top. They leave a beautiful, matte finish that highlights the wood’s natural grain and texture. While they don’t offer the same hard, protective shell as polyurethane, they are a great choice for a very natural aesthetic. They require more frequent maintenance, as they need to be re-oiled periodically.
Wax Finishes
Wax finishes are a classic choice that provides a soft, low-luster sheen. They’re easy to apply and repair—a scuff or scratch can often be buffed out and rewaxed in a small area. However, wax floors are not very resistant to moisture, so they are not ideal for kitchens or high-traffic areas.
Step-by-Step Sealing Process
Once you’ve chosen your sealer, proper application is key.
Preparing and cleaning floors
Your floors must be completely sanded, clean, and dust-free before you start. Any dust, hair, or debris left on the floor will be permanently sealed under the finish. After sanding, vacuum the entire area, then wipe it down with a microfiber cloth dampened with mineral spirits or a wood-specific cleaner to remove any remaining fine dust.
Applying the first coat
Start at the far corner of the room and work your way back toward the exit. Use a long-handled roller, a lamb’s wool applicator, or a professional-grade finish pad. Apply a thin, even coat, following the direction of the wood grain. Avoid puddling or leaving thick streaks.
Drying and recoating
Allow the first coat to dry completely according to the manufacturer’s instructions. This is a critical step—don’t rush it. Once dry, you can lightly “screen” the floor with a buffer and a fine-grit screen to smooth out any imperfections before applying the next coat. Apply a total of two or three thin coats for the best durability.
Maintenance After Sealing
A sealed floor is not a maintenance-free floor. Proper care will keep it looking its best for years.
Safe cleaning products
Only use cleaners specifically designed for finished hardwood floors. Avoid harsh chemicals, vinegar, and steam mops, as these can dull or damage the finish over time. A simple damp mop with a pH-neutral cleaner is all you need for regular cleaning.
Reapplication timeline
The reapplication timeline depends on the type of sealer and the amount of traffic. For polyurethane, a full recoat is typically needed every 3-5 years for high-traffic areas and 5-10 years for low-traffic areas. Floors with a natural oil or wax finish will need more frequent reapplication, sometimes every 6-12 months.
FAQs
How often should hardwood be resealed?
On average, a hardwood floor in a typical home needs to be resealed every 3-5 years. However, this depends on several factors, including the number of people and pets in your home, direct sunlight exposure, and the type of finish. You’ll know it’s time for a recoat when the surface starts to look dull or if you notice scuff marks that won’t clean up.
Can you seal engineered hardwood?
Yes, absolutely. The process for sealing engineered hardwood is the same as for solid hardwood. Most modern engineered floors come with a durable factory finish that lasts for years. When it’s time for a refresh, you can typically apply a new topcoat without sanding. However, if the floor is severely worn, it may be sanded and refinished, depending on the thickness of its top wear layer.
Ready to protect your beautiful hardwood floors? Contact the experts at Sky Hardwood Floors today to discuss your project and get a professional finish that will last for years to come.