Refinishing hardwood floors can breathe new life into your home, restoring their natural beauty and protecting them for years to come. This process, while demanding, is achievable for DIY enthusiasts with the right knowledge, tools, and patience. This comprehensive guide breaks down the hardwood floor refinishing process into five key steps, ensuring you have all the information needed for a successful project.
Step 1 – Inspection and preparation
Proper preparation is the cornerstone of a successful hardwood floor refinishing project. Skipping or rushing this step can lead to a less than ideal outcome.
- Empty the Room: Remove all furniture, rugs, curtains, and wall decor. Anything that can be removed should be to provide a clear workspace.
- Remove Baseboards and Shoe Molding: Carefully pry off existing baseboards and any shoe molding. Label them as you remove them to ensure they can be reinstalled in their original positions easily. This allows for sanding right up to the wall edges.
- Inspect and Repair the Floor:
- Set Protruding Fasteners: Walk the entire floor and use a hammer and nail set to drive any protruding nails or screws at least inch (0.32 cm) below the wood surface. Failing to do so will severely damage your sanding equipment and sandpaper.
- Replace Damaged Boards: Identify any severely cracked, splintered, warped, or rotten floorboards. These should be carefully removed and replaced with new hardwood boards of the same species and thickness.
- Fill Gaps and Holes: For smaller gaps between boards or small nail holes, use a high-quality, non-shrinking wood filler. Choose a filler that is labeled as “stainable” if you plan to change the floor’s color. Apply the filler according to product instructions, allow it to dry completely, and sand it flush with the floor surface.
- Clean the Floor Thoroughly: Sweep and vacuum the entire floor to remove all loose dirt, dust, and debris. A clean surface is essential to prevent particles from scratching the wood during sanding.
- Seal Off the Work Area for Dust Control: This is perhaps the most critical preparation step. Fine wood dust will travel everywhere if not contained.
- Tape heavy-duty plastic sheeting securely over all doorways, air vents, and any other openings leading to other rooms. Use painter’s tape to create a tight seal.
- Turn off your HVAC system for the duration of the sanding process to prevent dust from circulating through your home’s ventilation system.
- Consider covering any large, immovable items in adjacent rooms with plastic sheeting as an extra precaution.
- Ensure Adequate Ventilation: Plan for continuous ventilation throughout the project, especially during sanding, staining, and finishing. Open windows (weather permitting) and use fans to exhaust air out of the room to help dissipate dust and fumes.
- Gather Safety Gear: Before beginning any work, ensure you have proper safety equipment:
- Respirator (N95 or higher): Essential for protecting your lungs from fine wood dust and chemical fumes.
- Safety Glasses/Goggles: To protect your eyes.
- Hearing Protection: Sanding machines are very loud.
- Work Gloves: To protect your hands.
Step 2 – Sanding the floor
Sanding is the most physically demanding and critical step. It removes the old finish, smooths imperfections, and prepares the wood for a new coating. Always work with the grain of the wood.
- Rent or Acquire Equipment: You will typically need:
- Drum Sander (or Belt Sander): For the main open areas.
- Edge Sander (or Orbital Edge Sander): For edges, closets, and areas the drum sander can’t reach.
- Orbital Palm Sander (or Detail Sander): For corners and fine detail work.
- Heavy-Duty Shop Vacuum: With a fine dust filter.
- Choose Sandpaper Grits: You’ll need three progressively finer grits:
- Coarse Grit (40-60 grit): For the first pass, removing old finish and deep scratches.
- Medium Grit (80-100 grit): For the second pass, removing marks from the coarse grit.
- Fine Grit (120-150 grit): For the final pass, creating a smooth surface for staining/finishing.
- Always buy more sandpaper than you estimate; it’s better to have too much than too little.
- First Pass (Coarse Grit):
- Drum Sander: Start in a corner of the room that is farthest from your exit. Tilt the drum sander back so the drum is raised off the floor. Turn the machine on, then slowly and smoothly lower the drum as you walk forward at a slow, steady pace, moving with the wood grain. As you approach the end of your pass, slowly raise the drum before stopping. Turn around and start your next pass, overlapping the previous one by a few inches (5−10 cm). Continue this pattern across the entire main area.
- Edge Sander: Immediately after the drum sander, use the edge sander with the same coarse grit to sand along the perimeter of the room and around any fixed obstacles. Keep the edge sander constantly moving to avoid creating divots or swirl marks.
- Palm Sander: Use the palm sander for hard-to-reach corners.
- Empty dust bags frequently on all machines.
- Clean After First Pass: Thoroughly vacuum the entire floor to remove all loose dust and grit before proceeding to the next grit. This prevents old, coarser grit from scratching your newly sanded surface.
- Second Pass (Medium Grit):
- Repeat the entire sanding process (drum, edge, palm sanders) using the medium grit paper. This pass removes the deeper scratches left by the coarse grit and further smooths the wood surface.
- Clean After Second Pass: Vacuum meticulously again.
- Final Pass (Fine Grit):
- Perform the final sanding pass with all sanders using the fine grit paper. This will prepare the wood for staining or finishing, ensuring a silky-smooth surface.
- The MOST Important Cleaning Step: After the final sanding pass, your floor must be impeccably clean.
- Vacuum Multiple Times: Use your heavy-duty shop vacuum with a brush attachment and go over every square inch of the floor, including corners and crevices, multiple times.
- Tack Cloth: Finally, wipe down the entire floor with tack cloths or a microfiber cloth lightly dampened with mineral spirits (for oil-based finishes) or water (for water-based finishes). Work in small sections, changing or rinsing cloths frequently until no dust residue is visible. Any dust left behind will be sealed into your finish, creating an uneven and bumpy surface.
Step 3 – Applying stain (Optional)
If you want to change the color of your hardwood floors, apply stain after the sanding and meticulous cleaning are complete. If you prefer the natural wood tone, skip this step and proceed to “Step 4 – Sealing with Finish.”
- Test the Stain: Always test your chosen stain on an inconspicuous area of your floor (e.g., inside a closet) or on a scrap piece of the same wood species. The final color can vary significantly depending on the wood type and how it absorbs the stain.
- Apply Evenly: Work in small, manageable sections (e.g., 0.9×0.9 meter or 3×3 feet). Apply the stain using a natural bristle brush, foam applicator, or a clean, lint-free cloth, always working with the grain of the wood.
- Wipe Off Excess: After a few minutes (refer to the manufacturer’s instructions for the recommended “open time,” usually 5-15 minutes), use a clean, dry rag to thoroughly wipe off any excess stain. If too much stain remains on the surface, it won’t dry properly, can look blotchy, and may prevent your finish from adhering correctly.
- Ensure Smooth Overlaps: Be careful to blend the edges of each section smoothly to avoid visible lap marks.
- Allow to Dry Fully: This is crucial. Allow the stain to dry completely according to the manufacturer’s instructions. This can take anywhere from 12 to 48 hours, depending on the product, humidity, and ventilation. Proper drying prevents the finish from peeling or not adhering properly. Maintain good ventilation throughout the drying process.
Step 4 – Sealing with finish
Applying a protective finish is essential for durability and the aesthetic appeal of your newly refinished floors. Most floors require at least 2-3 coats.
- Choose Your Finish:
- Oil-Based Polyurethane: Offers excellent durability and a warm, amber tint that deepens over time. It has strong fumes and longer drying/curing times (12-24 hours per coat to dry, 30+ days to fully cure).
- Water-Based Polyurethane: Dries and cures much faster (2-4 hours per coat to dry, 2-3 weeks to fully cure). It’s clearer, has less odor, and is generally more environmentally friendly, though historically less durable than oil-based, modern formulations are very good.
- Hardwax Oils/Penetrating Oils: Soak into the wood, providing a natural look and feel. Easier to repair individual spots. Drying/curing times vary.
- Ensure your chosen finish is compatible with your stain if you’ve stained the floor.
- Maintain Ventilation: Continuous and excellent ventilation is crucial throughout the application and drying of each coat of finish.
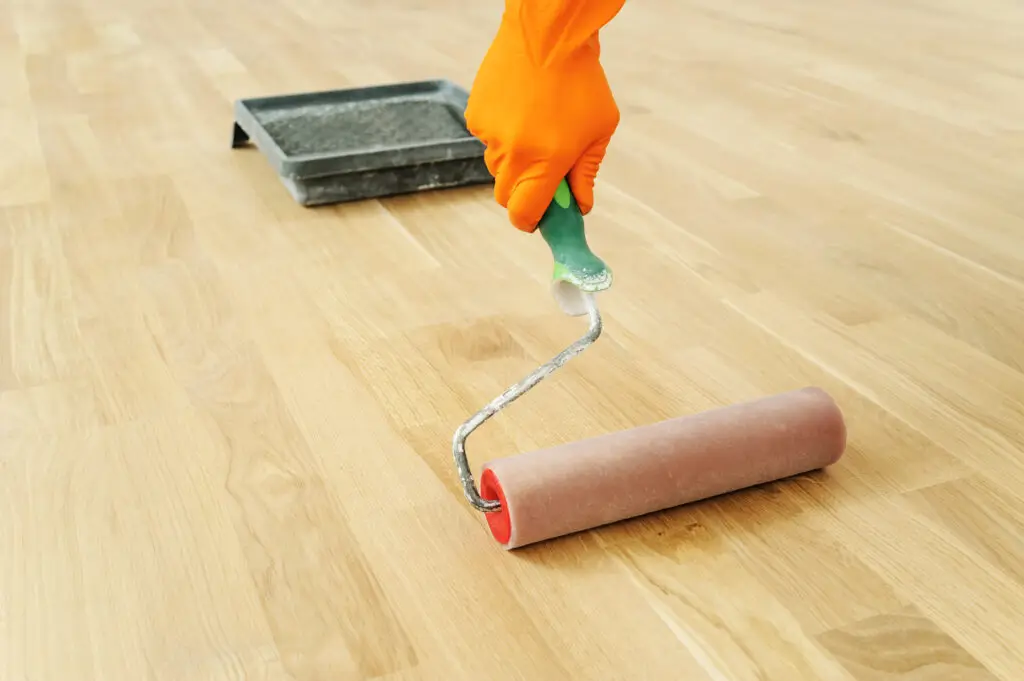
- Apply the First Coat:
- Pour a manageable amount of finish into a clean paint tray.
- For large areas, use a T-bar applicator or a quality floor finish applicator pad. Work with the grain of the wood, applying thin, even coats.
- Use a high-quality brush (natural bristle for oil-based, synthetic for water-based) to “cut in” along the edges of the room and around any obstacles.
- Start in the corner farthest from your exit and work your way out of the room, ensuring you don’t paint yourself into a corner.
- Drying Time: Allow the first coat to dry completely according to the manufacturer’s instructions. Do not rush this step.
- Light Sanding Between Coats (Optional but Recommended):
- After the first coat is thoroughly dry, lightly abrade the entire floor with a very fine-grit screen or sanding pad (220-320 grit) attached to a pole sander. This step helps to smooth out any dust nibs or raised grain that may have occurred with the first coat, ensuring better adhesion for subsequent layers.
- Crucially, vacuum and then meticulously tack-cloth clean the floor again after this light sanding to remove all fine dust before applying the next coat.
- Apply Second and Third Coats:
- Apply subsequent coats (typically 2-3 coats total, sometimes 4 for very high-traffic areas) following the same application technique as the first coat.
- Allow each coat to dry completely before applying the next one, and perform light sanding and cleaning between coats if desired. More thin coats generally provide better durability and a smoother finish than fewer thick coats.
Step 5 – Final touches and maintenance
Your newly refinished floors are beautiful, but they are still vulnerable during the final curing phase. Proper post-refinishing care is essential for their long-term durability and appearance.
- Observe Curing Times (Patience is Key!):
- Light Foot Traffic: Avoid walking on the floor for at least 24-48 hours after the final coat. When you do, only walk in clean socks, no shoes.
- Furniture Placement: Wait at least 72 hours (3 days) after the final coat before carefully moving furniture back onto the floor. Always attach felt pads to the legs of all furniture to prevent scratches. For very heavy items like refrigerators, wait 5-7 days if possible.
- Area Rugs: Do not place area rugs back on the floor for at least 7-14 days for water-based finishes, and 30 days for oil-based finishes. This allows the finish to fully cure and off-gas without trapping moisture or chemicals beneath the rug, which can cause discoloration or adhesion problems.
- Full Cure: The finish will continue to harden for several weeks (2-3 weeks for water-based, 30 days or more for oil-based) until it reaches its maximum durability. Be extra gentle with the floors during this entire period.
- Reinstall Baseboards and Shoe Molding: Once the floors are ready for light traffic, carefully reattach the baseboards and shoe molding you removed earlier.
- Regular Cleaning:
- Daily Sweeping/Dust Mopping: Use a soft-bristle broom or a microfiber dust mop regularly to remove dirt and grit, which can act as an abrasive and scratch the finish.
- Damp Mopping (Sparingly): Only when necessary, use a barely damp mop with a pH-neutral, hardwood-specific floor cleaner. Avoid excessive water, as it can damage wood floors. Never use steam cleaners, abrasive cleaners, or products containing wax or silicone.
- Protect from Scratches:
- Felt Pads: Ensure all furniture legs have felt pads and replace them periodically as they wear down.
- Area Rugs: Place area rugs in high-traffic areas, at entryways, and under chairs in dining areas to protect against wear and tear.
- “No Shoes Inside” Policy: Encourage family members and guests to remove outdoor shoes, especially those with high heels or dirty soles, to prevent scratches and tracking in dirt.
- Maintain Consistent Humidity: Wood floors are sensitive to humidity changes. Maintain consistent indoor humidity levels between 35-55% using humidifiers or dehumidifiers as needed. Extreme fluctuations can cause the wood to expand, contract, warp, or crack, which can damage the finish.
- Future Re-Coating: Depending on traffic levels, you may need to apply a fresh topcoat every 5-10 years. This “screen and recoat” process is less intensive than a full refinish and can extend the life of your floors indefinitely.
By meticulously following these steps, you can successfully refinish your hardwood floors, enjoying their renewed beauty and durability for many years to come.